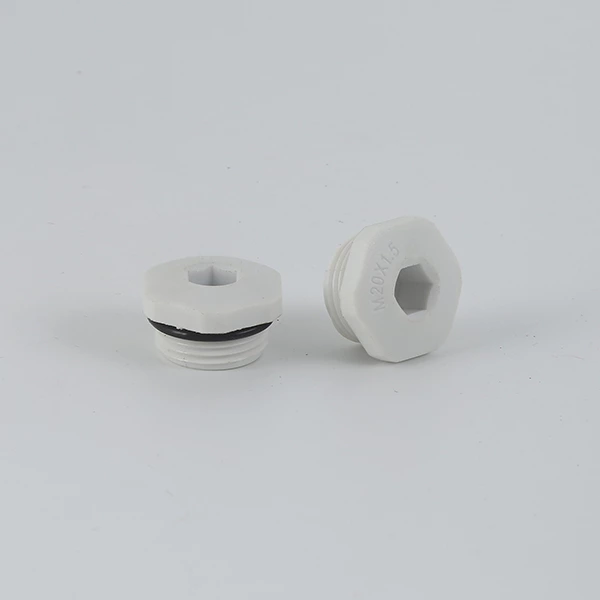
Steps For Designing Nylon Waterproof Joint Mold
1. Analyze the feasibility of the designed Nylon Cable Gland mold product
Taking the computer case as an example, first use the design software to assemble and analyze the product drawings of each component, that is, our work The above drawing set ensures the correctness of each product drawing before mold design. On the other hand, you can be familiar with the importance of each component in the entire chassis to determine the key dimensions, which is useful in design. The detailed drawing set will not be introduced in detail here.
2. Work to be done after product analysis
What kind of mold structure is used for the analysis of the cable waterproof connector product, the arrangement process of the product, ensure that each process is punching capacity in the work, and use the design software to stop product development. When the product is unfolded, it usually starts from the subsequent project. For example, a product requires five processes and stamping is completed. The drawings start from the fourth project, the third project, the second project, and the - project. After drawing the drawing, make a copy, and then stop the development work of the previous - project, that is, the product development work of the fifth project is completed. Then stop the meticulous work, pay attention, this step is very important, and you need to be very careful at the same time. If this step is done well, it will save a lot of time to draw the mold drawing, and after confirming the content for each stamping, including in the forming mold, keep the inner and outer lines of the product material thickness to determine the size of the convex and concave mold. The method of product development is not explained here, but
3. Material preparation
Prepare materials according to the product development drawings, and confirm the size of the template in the drawings, including each fixed plate, unloading plate, convex and concave mold, inserts, etc., and pay attention to material preparation directly in the product development drawings. Drawing mold drawings is very beneficial. I have seen many mold designers directly calculate the product development drawings by hand to prepare materials. This method is too inefficient. Draw the size of the template on paper and express it in the form of an assembly drawing. On the one hand, it can complete the preparation of materials, and on the other hand, it saves a lot of work in the work of each part of the mold. At work, you only need to participate in the positioning, pins, guide pillars and screw holes in the material preparation drawings.
4. After the material preparation is completed, you can enter the mold drawing in its entirety, copy it again in the material preparation drawing, and stop drawing each component, such as adding screw holes, guide post holes, positioning holes, etc. In the punching die, various holes need to be cut with threading holes. In the forming die, the forming gap between the upper and lower dies must not be forgotten, so the mold drawing of the product is poor after these works are completed. Not many people have completed 80%. In addition, in the process of drawing the mold drawing, it should be noted that each process refers to manufacturing, such as bench marking, wire cutting, etc., until different processing processes have good stratification,
5. After the above drawings are completed, the drawings cannot be released. Correct the cable waterproof connector mold drawing, assemble all accessories, and make different templates. Different levels, use the same reference, such as guide post holes, stop mold assembly and analysis, and set the product development drawing of each process to the assembly drawing to ensure that the holes of each template are different and located at the upper part of the bending position.

 English
 اللغة العربية
 Español
 Français
 Português
 Русский